
How to Start a Discussion on The Music Box Jukebox
Only regular community members on this site’s trusted list can start a new discussion on The Music Box Jukebox.
You will need to sign in with Disqus to start a new discussion.
This is to keep out spammers, trolls and non-members of our community from opening discussions here.
This will also allow your current Disqus display name and avatar to be shown at the top of any discussions you start.
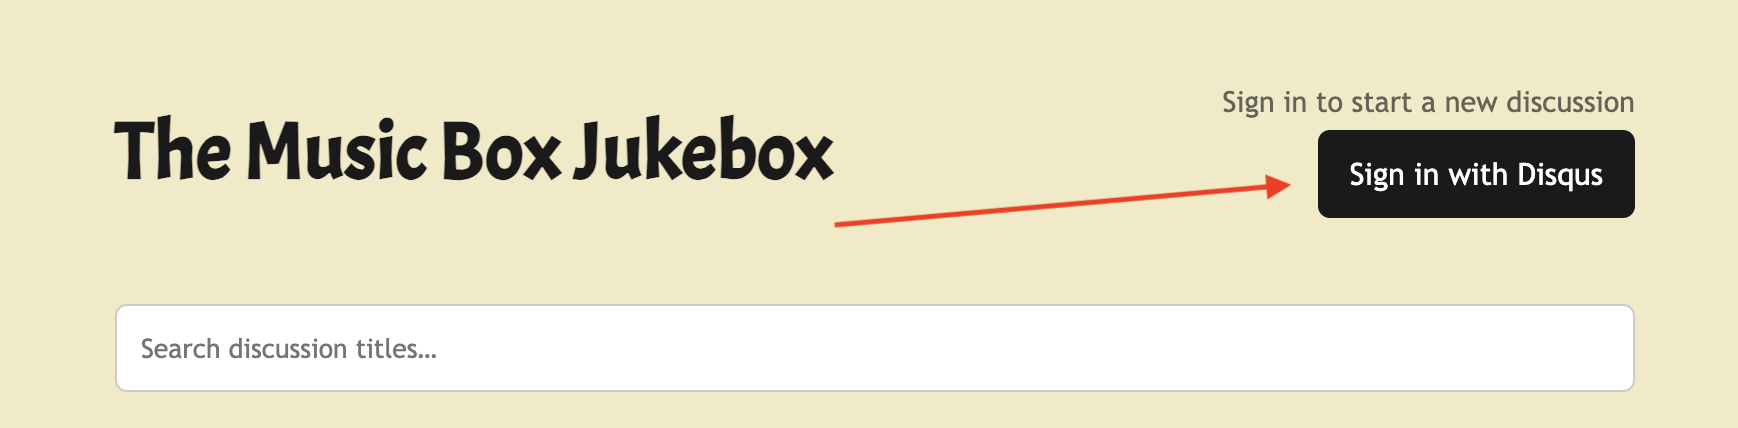
On the The Music Box Jukebox discussions page, click/tap on “Sign in with Disqus”.
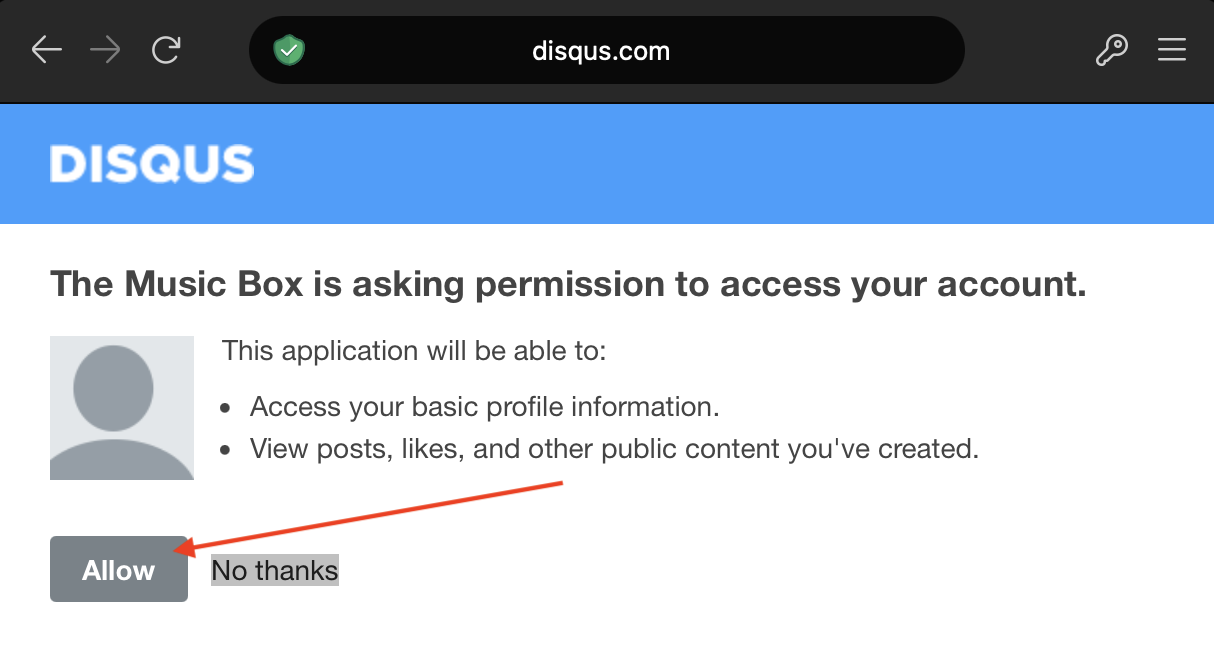
Disqus will ask for your permission to connect.
This connection only allows the site to access basic, public profile information, such as your avatar and display name. It does not allow anyone to see anything private to do with your account, whether your profile setting is public or private.
Allow to continue.
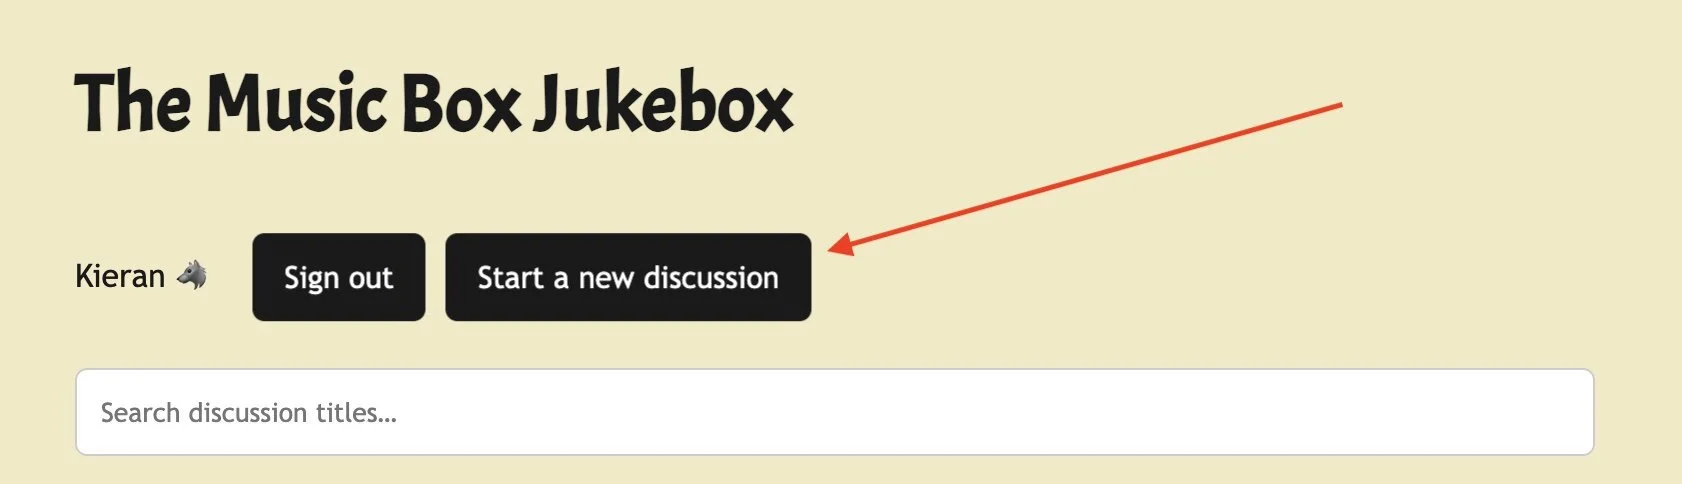
Once signed in, you will see your Disqus display name and the option to start a new discussion.
Click/tap “Start a new discussion”.
The check will then be made to see if you are on the trusted list. If you are a regular here, you will be. 😃
You may get a “Try again” at this point, and if so, just click/tap that button.
If you are confirmed as on the trusted list, the new discussion editor will then open.
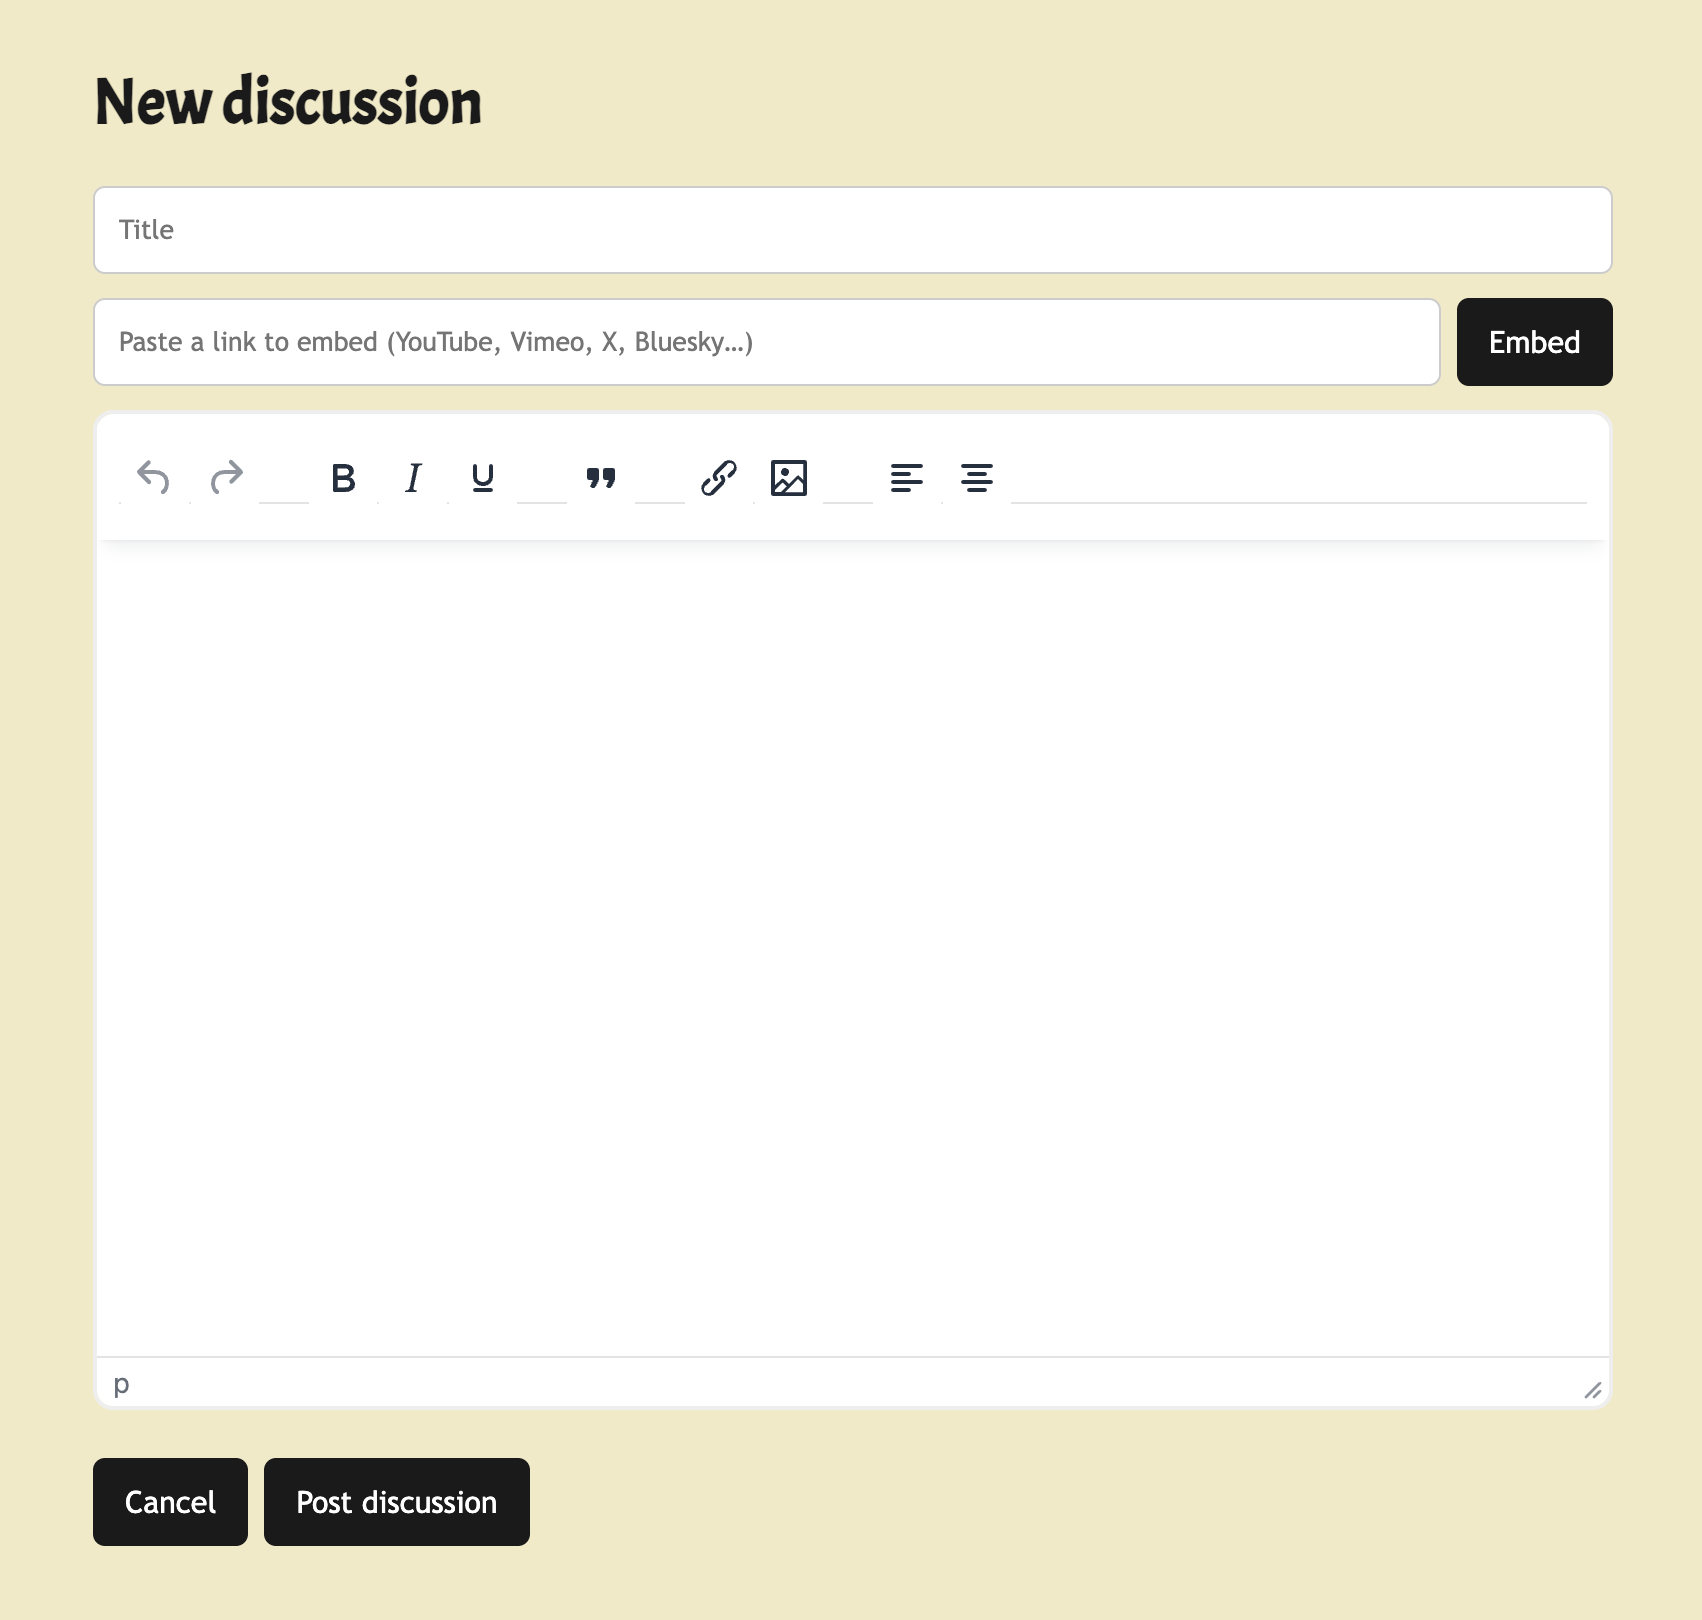
Enter the title, and then you can start drafting your discussion.
The text editor size is fixed on mobile, but those drafting on desktop can use the grab handle on the bottom right-hand corner of the editor to drag that down to make the editing area larger or smaller as desired.
If you close the tab, refresh the page or navigate back to the discussions list or any other page, your discussion will be saved as a draft and you can continue where you left off.
To delete everything from the draft, just click/tap Cancel and you will be returned to the discussions list.
When have finished drafting, click/tap “Post discussion” and your discussion will be live on the discussions list.
Authors get an “Edit” option on their own posts, so you can go back in and change anything you want after posting. Only mods can delete a discussion.
Invites for your discussion will be sent manually as soon as is practicable, but there may be delays at times.
Please remember that the admin team for this site live in Europe and the UK, so are in UTC (Summer UTC+1) and UTC+1 (Summer UTC+2) time zones.
Below is the detailed information on using the text editor, but if you need any help at all with anything, please just ask.
Entering Text
To enter text, insert the cursor where you want that and type, using any of the formatting and alignment options you want.
There are undo and redo options for anything that you do in the editor, so any mistakes or changes you don’t like, just undo and try again.
Embedding Videos
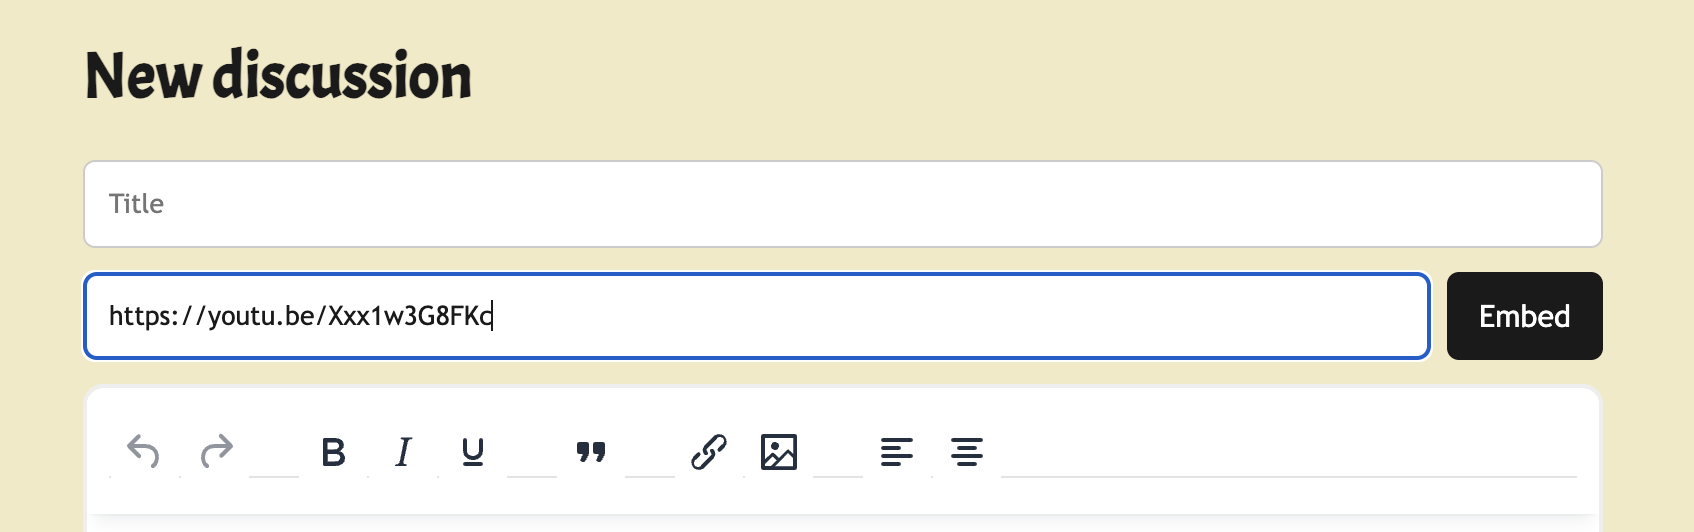
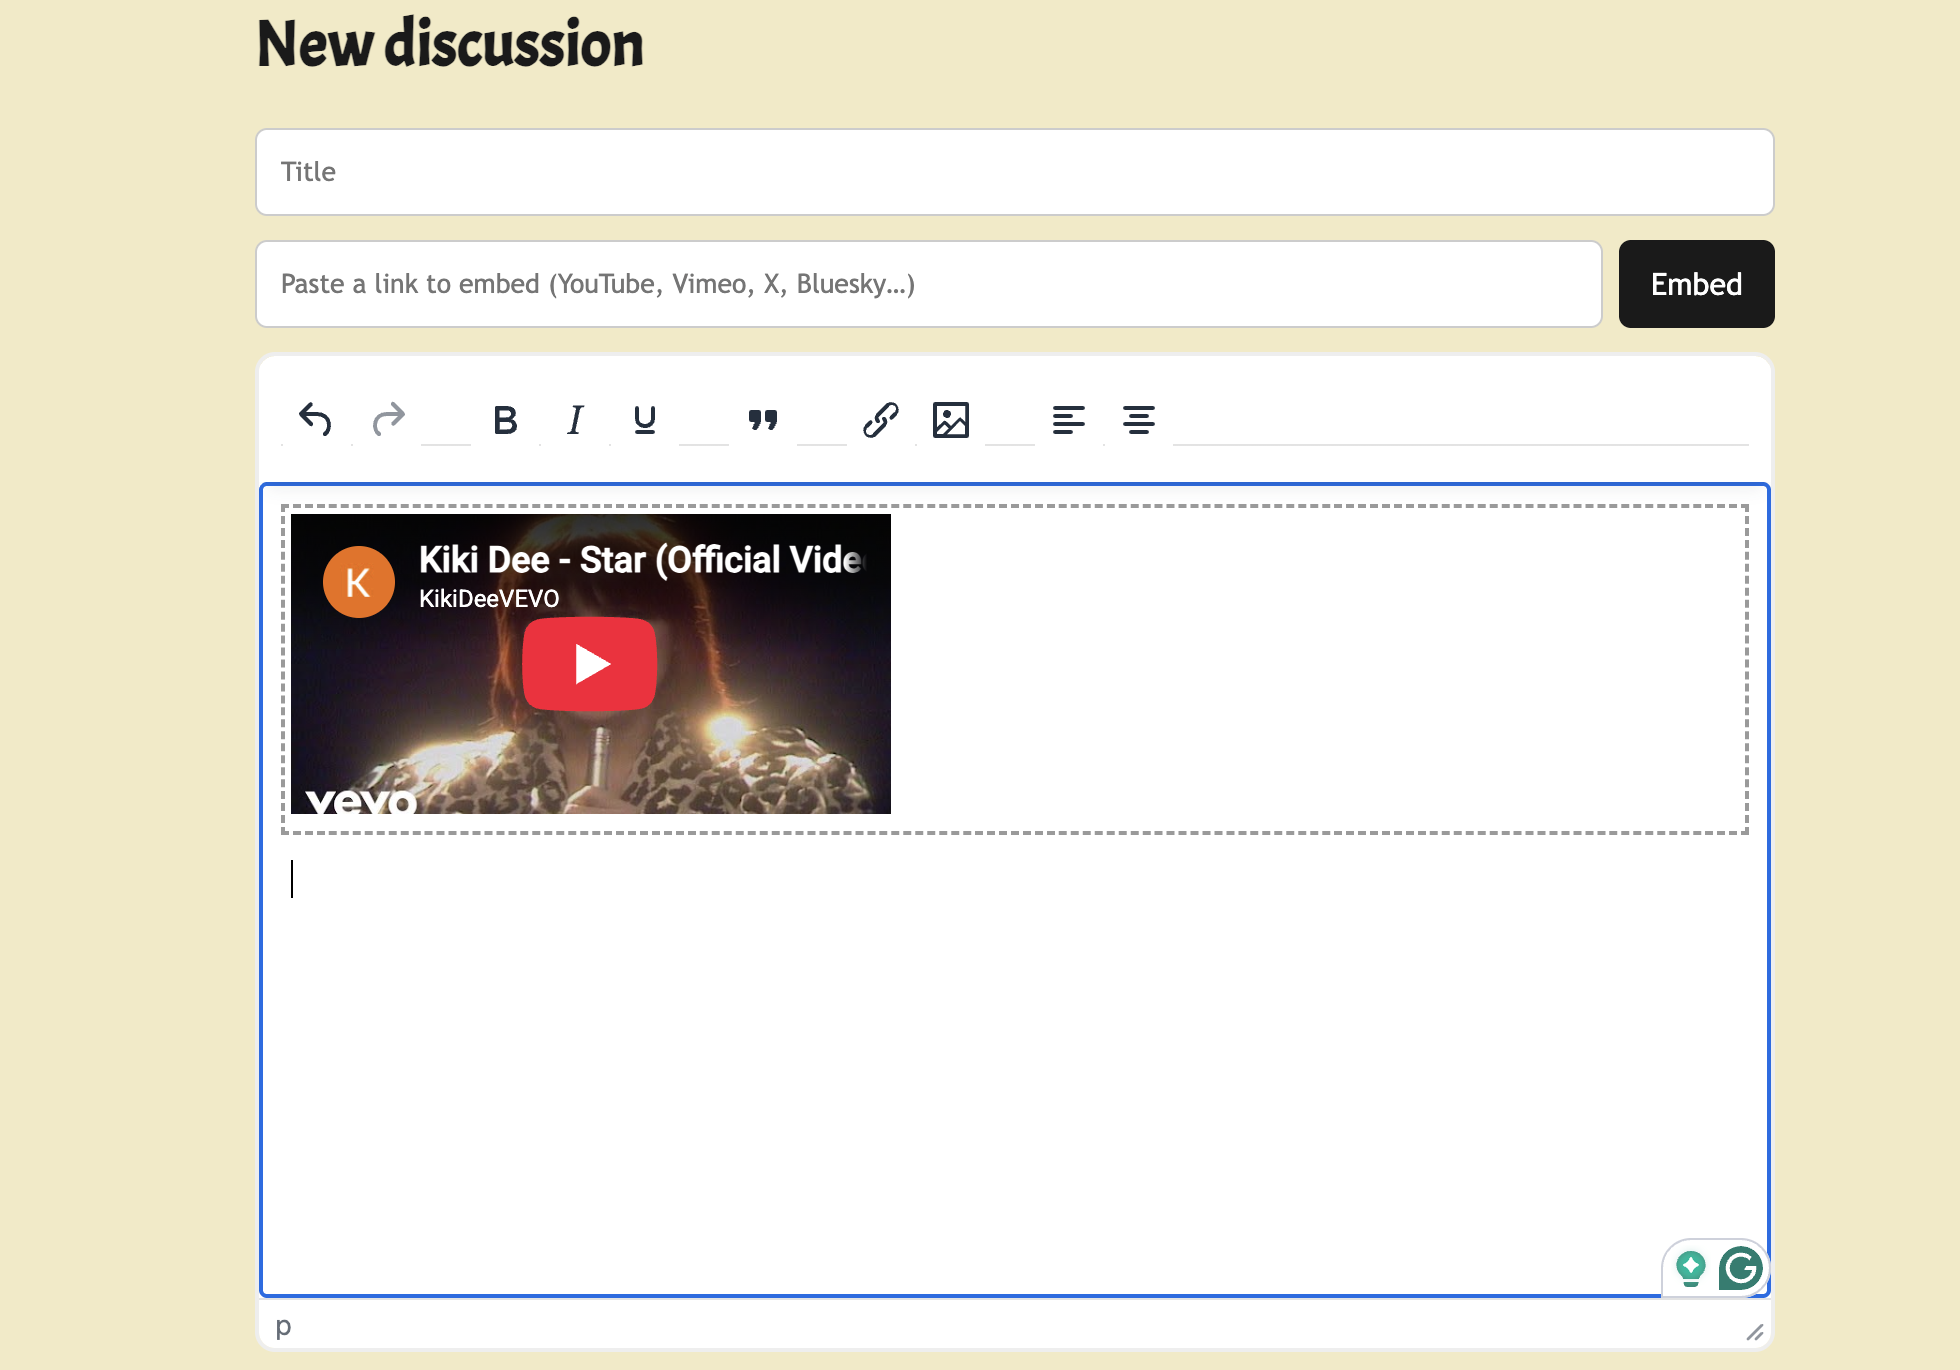
To embed YouTube videos, X posts, etc., paste the link into the box under the title, and click/tap “embed”.
The video or post will be inserted wherever your cursor is, with a dotted outline to show where it sits in the discussion.
Embedding Images
To embed images, you can drag and drop, copy and paste, or use the image upload button.
Supported image formats are JPEG/JPG, PNG, GIF, WebP, SVG, and BMP.
With drag and drop and copy and paste, you may get a message that the image was not uploaded when it was and is visible on the draft. This is a documented issue with this editor and you can just ignore that.
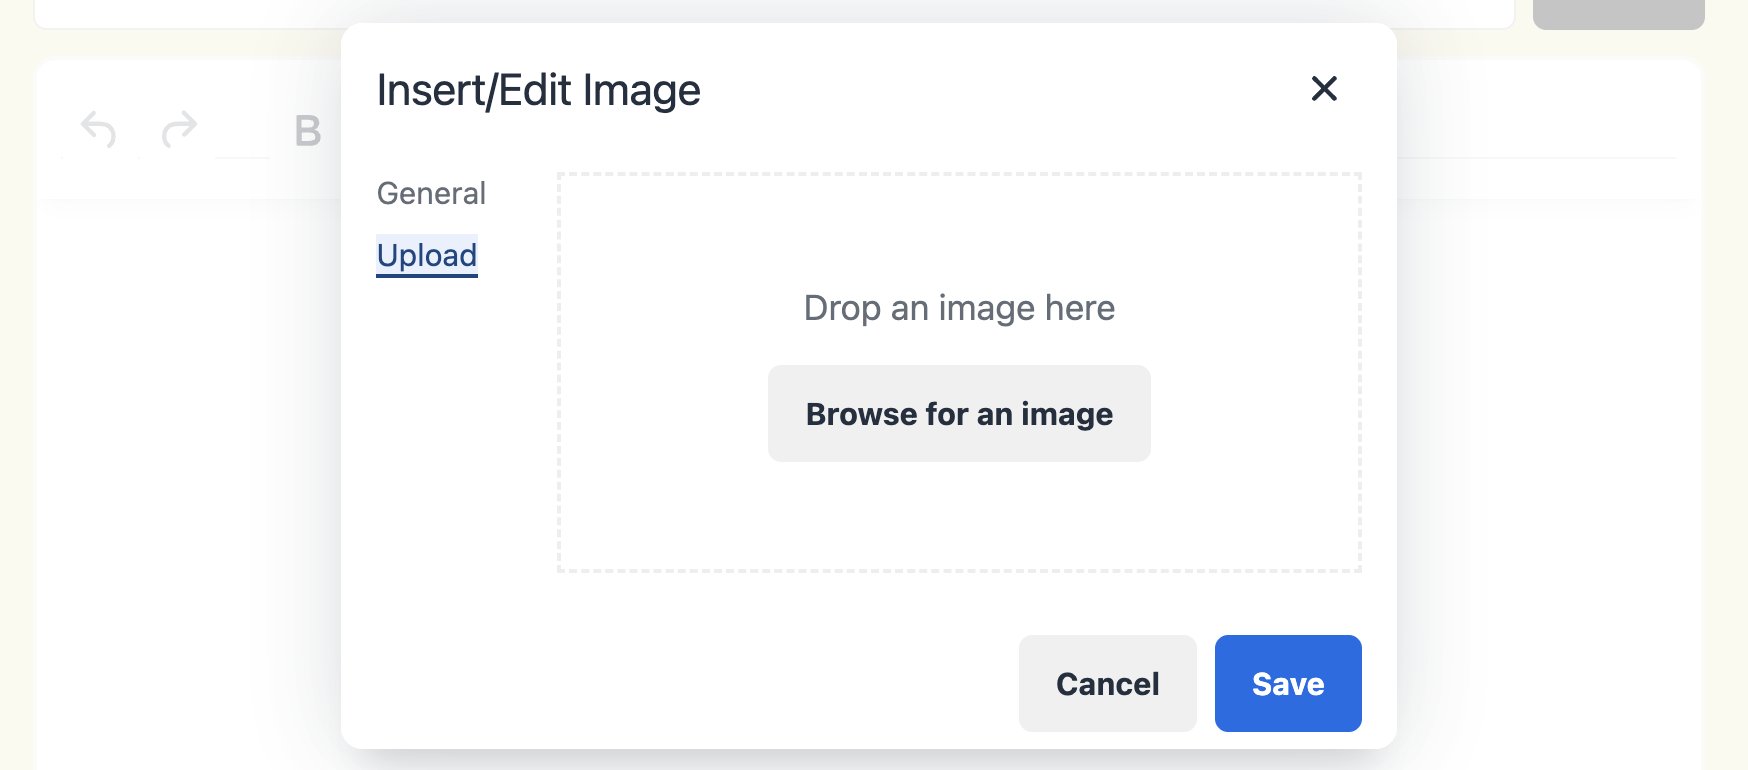
To upload images from your device, use the insert/edit image button, and select the upload tab, and then browse for an image.
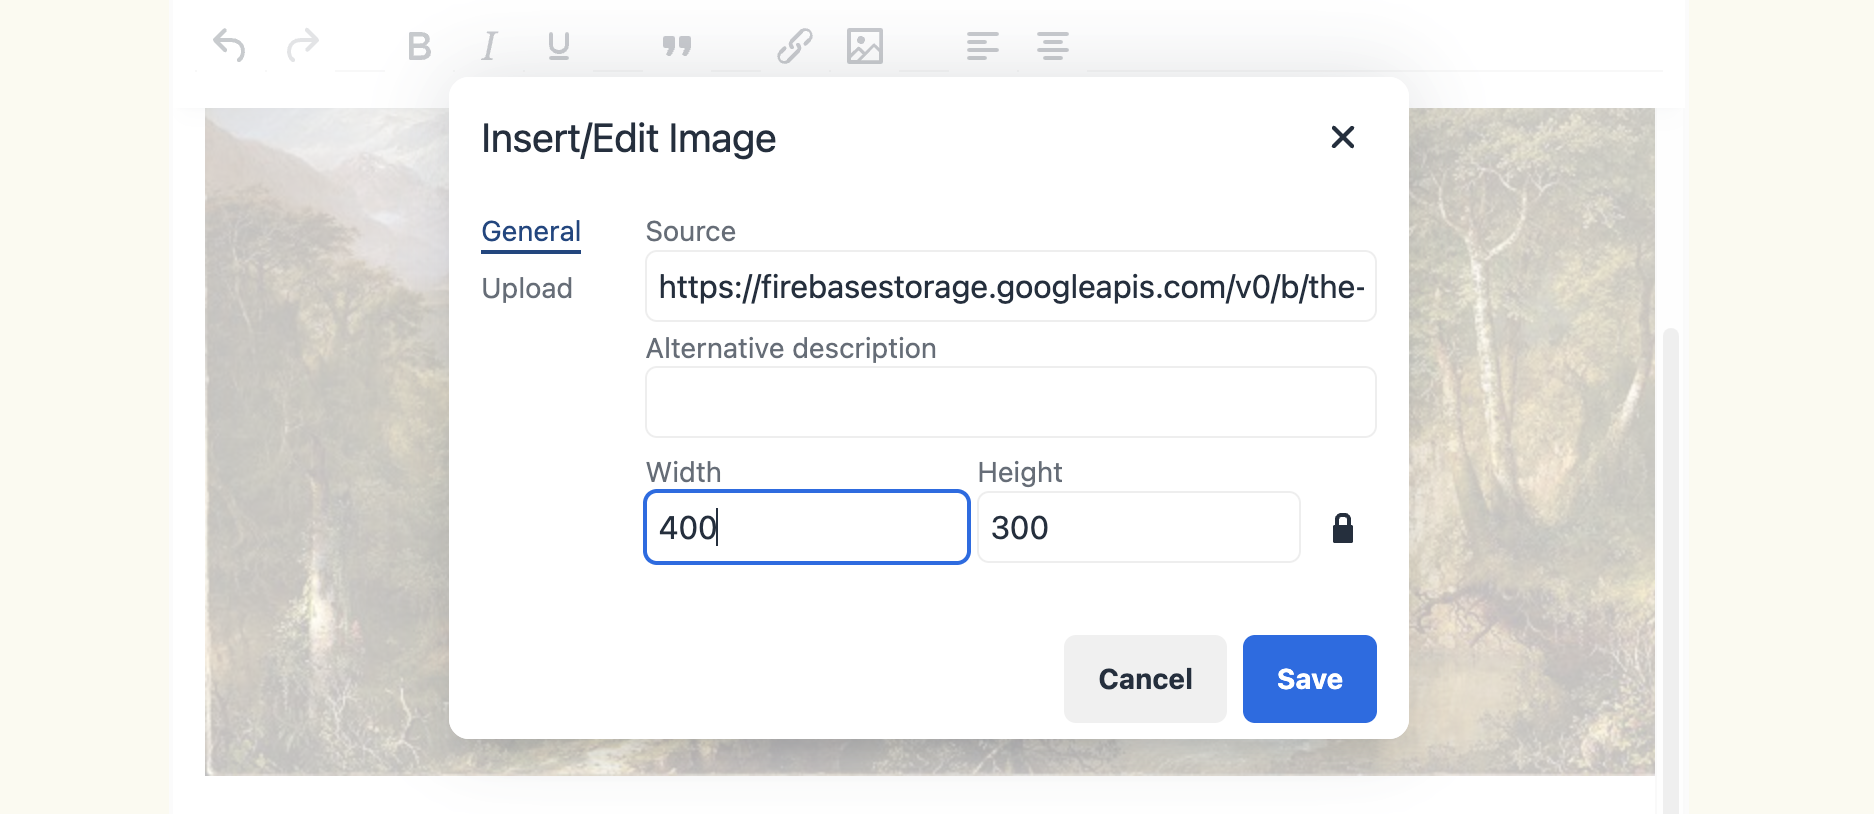
If you want to change an image’s size after uploading, right-click or press, and choose the Image option.
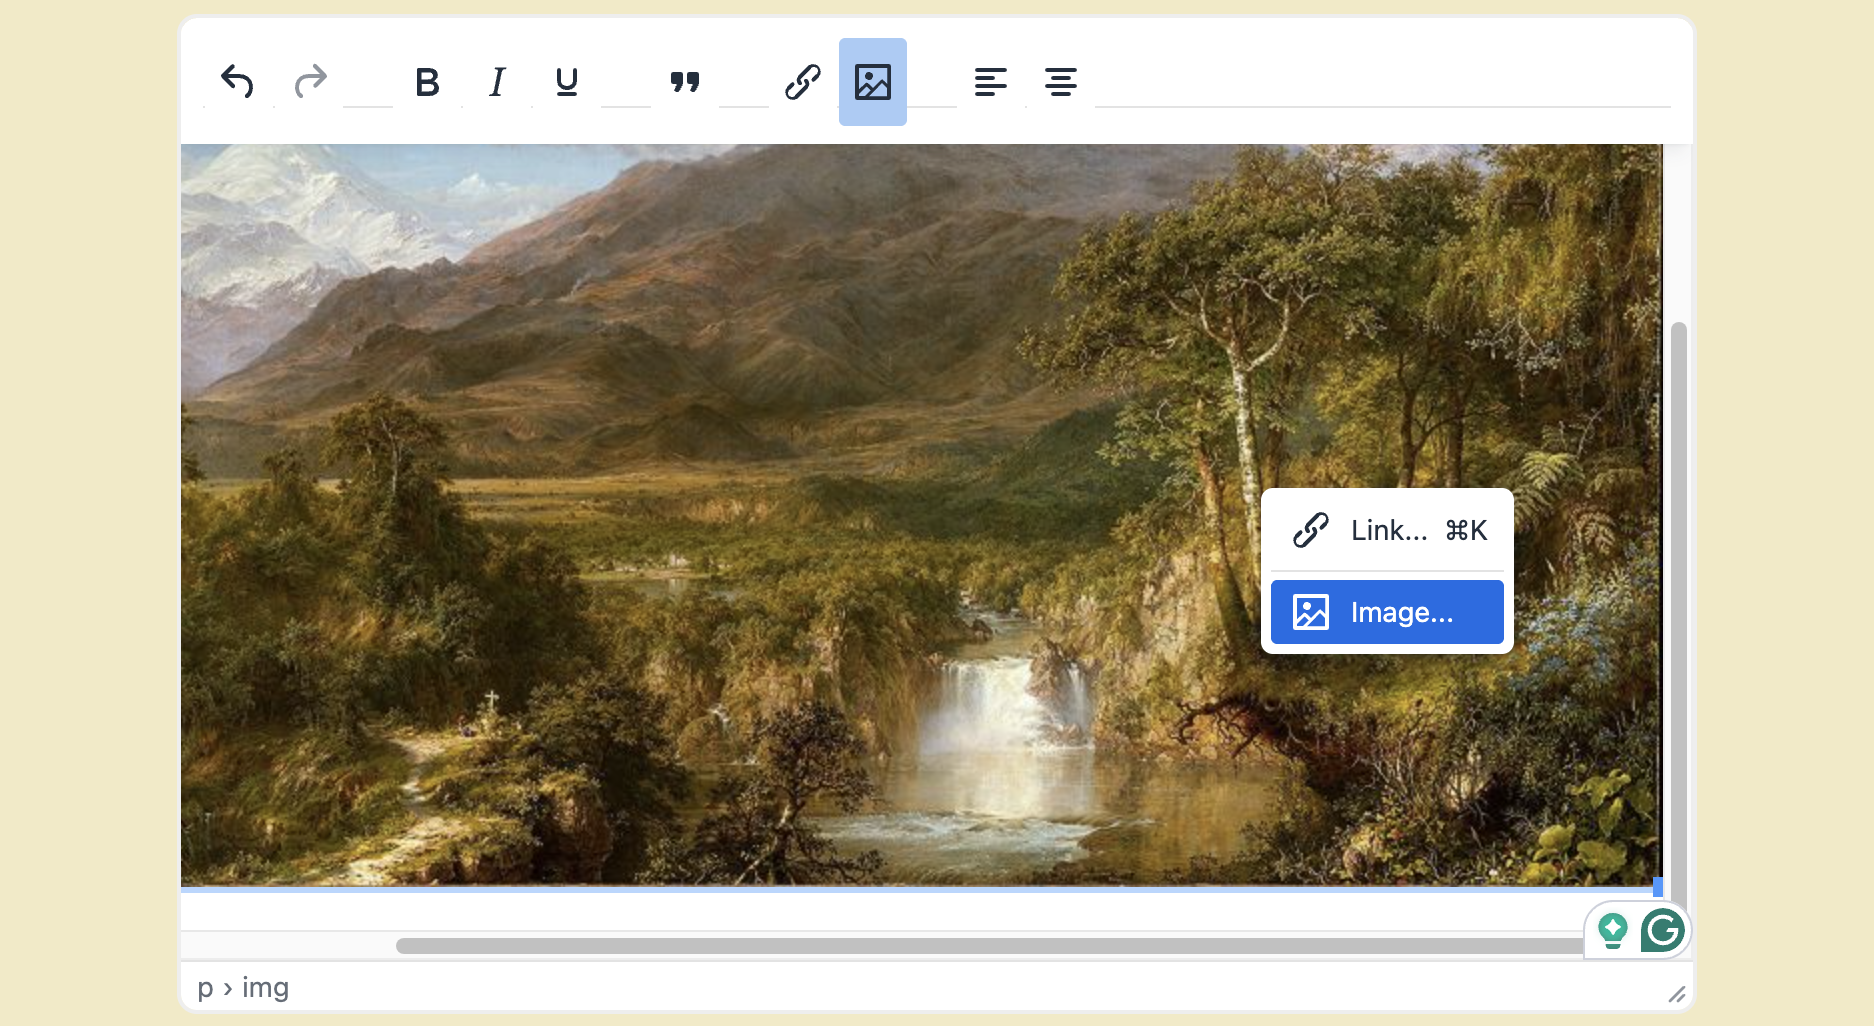
You will then get the Edit/insert image option with boxes giving the image’s width or height values in pixels.
Change the values in one of the boxes, and the other will alter automatically to keep the correct aspect ratio for the image, and save the change.